In Adobe Illustrator, it is very easy to create dotted lines. But how do you create dotted lines easily in Adobe Photoshop? And what approach should you use for creating areas filled with dots? In this short tutorial I will give some tips for making dotted lines in Photoshop.
Creating Dotted Lines with Brushes
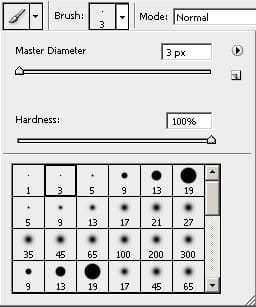
Creating Dotted Lines is fairly easy in Photoshop Brushes. There is not a single tool or option for it, but you just have to tweak some brush-settings and we have our dotted lines in seconds. Start by opening a new file (Ctr+N, or File > New), and make it for example 500 by 500 pixels. Select the Brush Tool by clicking on the icon , or by hitting B on your keyboard. Now select any brush you want. But remember, the brush you choose will form the dot, so if you want a dotted line it is wise to choose a hard edge but small brush. I used 3px with a hardness of 100%.
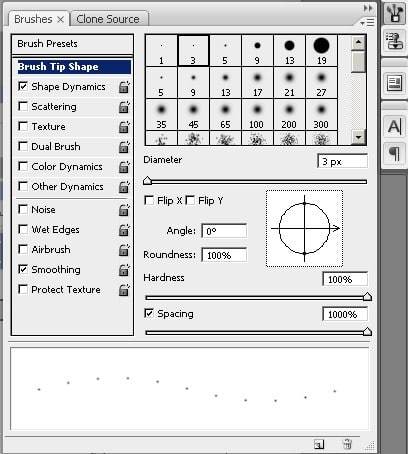
Now we need to set up the brush settings. This is pretty easy, just click on this icon on (usually) right of your screen. Or hit F5 or go to Window > Brushes. Now you need to go to Brush Tip Shape and the only thing to alter is Spacing. Depending on how for you want the dots be separated from each other, set up the Spacing. I used the maximum value of 1000%.
Now just draw a line in your document and…. tadaa! You will have a dotted line:

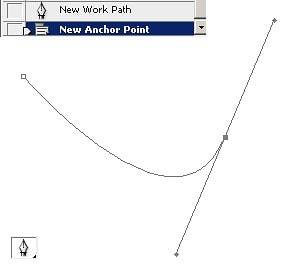
Of course this is a very random line, which doesn’t look very smooth, unless you have some drawing skills in drawing straight and curved lines or use a Wacom Tablet. But wait, there are more tools in Photoshop! Remember the Pentool? Click on the Pentool icon or hit P, and make sure you have the following settings:
![]()
Now draw for example a curved line somewhere in your canvas by creating a New Work Path and a New Anchor Point. You can curve the line by holding the mouse when you added the last anchor point, and then keep holding it and moving the handles.
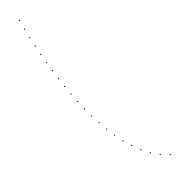
Now stroke the path: right mouse on your just created path and select Stroke Path. Then choose Brush and hit ok. Your path is now a dotted curved line! Delete the path, by right mouse > Delete Path or hitting Delete on your keyboard 2 times. And look, the dotted line remains:
This could also be applied to shapes, to create for example a dotted heart. That is not very hard. Go to Custom Shape Tool (hotkey: U), and choose the heart shape. Use the same settings as for the Pentool.
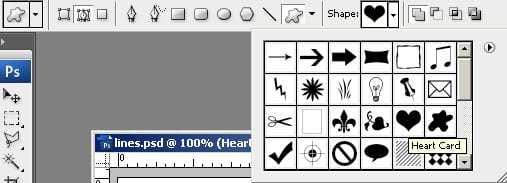
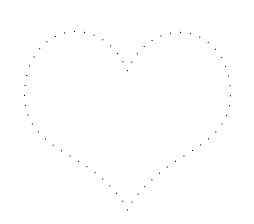
Draw your heart somewhere, hit P or the Pentool icon and choose right mouse > Stroke Path. Do the same as we did for the Pentool and you will end up with this:
Because we have used brushes, there is a lot of possibility in how we want our dots to look like! If we choose for example a smooth brush or a starry brush, we can get to results as in the picture below. This can be done by going to the brush tool (B) and selecting the starry brush. Now in the Brush Palette (F5 or Window > Brushes) deselect the Scattering and apply a Spacing of for example 150% (as you can see the right value of spacing depends on the kind of brush you chose, a value of 1000% would make the distance between the stars to big!).
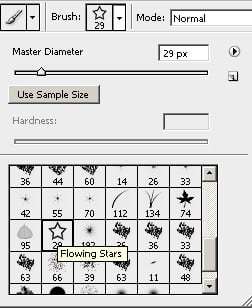
Repeat the steaps as you did with the first heart. It will turn out like this:

Creating Dotted Lines with the Line Tool
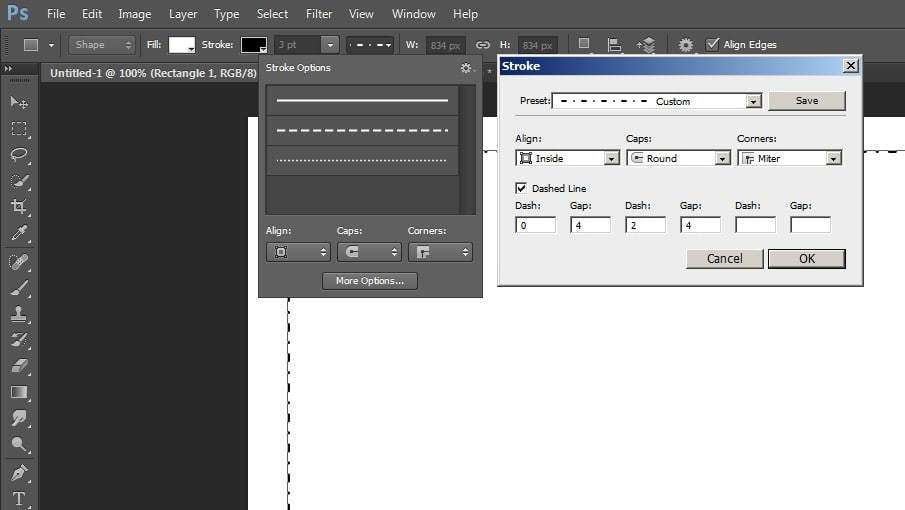
With the coming of – I believe – Photoshop CS6, creating dotted lines has become easier because it is supported by the Line Tool and other Vector Shape Tools. When drawing any Shape or Line, there is an option to select a certain stroke for the path in the upper left corner, as shown in the image below. Clicking on the more options button opens up a pop-up in which you can determine how the dotted line and the gaps between the dots look like.
Creating Dotted Areas
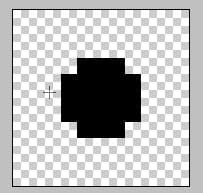
Patterns is the most easy way to quickly fill an area with dots. First, open up a new document (Ctr+N or File > New) and make it 11 by 11px with a transparent background. Use the pencil tool to place a single dot. It is best if it is placed right in the middle.
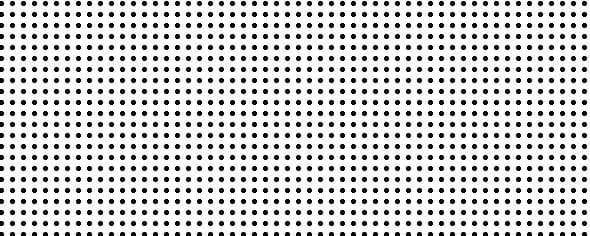
Now use (for example) the Rectangular Marquee Tool (hotkey: M) to make a rectangular selection. Following, right mouse > Fill and then Use :Pattern as we did before. Choose our new pattern, hit ok and we have a dotted area:
Did you know? This same technique can also be used to make straight lines (and basically any pattern), and just in the following way:
Make a new document (Ctr+N or File > New) and make it 4 by 2px, with a transparent background. Select the Pencil Tool, make it 1px and draw something like below (zoom in!).

Then go to Edit > Define Pattern, and give it any name you want. Go back to the document you already had, and use any of the Marquee Tools to draw a single line, a circle or area. Then use right mouse > Fill. Click Use Pattern and choose the pattern you just defined. Hit ok and deselect (Ctr-D or right mouse > Deselect) and you’re done! The shape you drawn is now filled with vertical lines. The size and shape of the dot is dependent on the shape of our pattern.
Congratulations, you finished this tutorial and are hopefully somewhat wiser about making dots in Adobe Photoshop! Feel free to comment or leave feedback.